How to set up your Zapier integration
You'd like to connect your Quicket event to other services so that you can do things like automatically add a guest to your CRM when they buy a ticket or get an SMS when a VIP checks in at the gate. Integrate your Quicket event with Zapier and choose from thousands of apps and services to connect with for an even more seamless ticketing experience.
For more information on using Zapier in general, find a wide selection of articles in their Help Centre here:
https://zapier.com/help/
To get started, log into your Quicket account and go to your event dashboard. From your dashboard menu browse to Settings -> Integrations.
Select the Zapier integration to get started.
Choose your Quicket Trigger
Once you've logged in or signed up, you can create your first Zap with Quicket.
Then select which Quicket trigger you'd like an action for from the drop-down menu.
Guest Added: This triggers an action when a single guest is added to your event. E.g. if someone makes an order for three tickets, an action will be triggered for all three guests.
Guest Cancelled:
This triggers an action when a ticket is cancelled. This includes tickets cancelled because a refund was processed, or tickets cancelled because they were transferred to another a ticket holder.
Guest Checkin:
This triggers an action when the guest is checked into your event or checked out of the event.
Order Added:
This triggers an action when an order for your event is completed. E.g. if someone makes an order for three tickets, an action will be triggered only once for the order.
Guest Edited: This triggers an action when a guests' ticket details are update.
New Registration:
If you have a pre-registration form set up (requiring guests to provide information before order tickets), this triggers an action when a user successfully registers for your event. This will only trigger when the registration is approved.
Click Add account to continue at the bottom once you've selected a Trigger. Note that you can only set up one Trigger per Zap, so you'll need to make multiple Zaps to set up multiple Triggers.
Next, you'll need to connect your Quicket account to Zapier. If you've already connected a Quicket account, you can select your account, or click
Sign in. You'll then see a popup asking you to retrieve your Quicket user token.Connect your Quicket account
Click the link provided and you'll be taken to your Quicket account to fetch your user token.
Copy the user token, enter it into the space provided in the Zapier popup and click Continue once you're connected.
Choose your Quicket event
On the following page you'll need to select which of your Quicket events you're integrating with Zapier. Search for your event by name or event ID, or select from the list of events that Zapier fetched from your account.
Note that you will only be able to select
one
Active Quicket event per Zap.
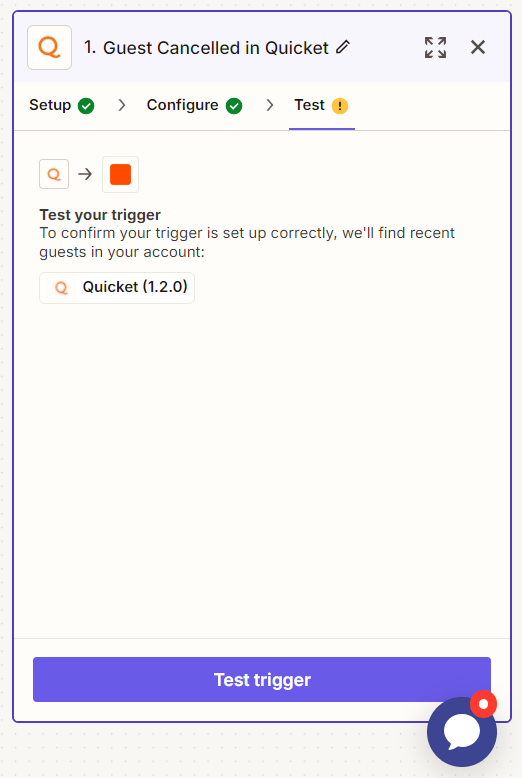
Test your connection
Zapier will want to test the trigger to make sure everything will run smoothly. Make sure you have at least one guest in your event before testing. If you don't have any guests in your event yet, you can send yourself a complimentary ticket and then cancel it later on. (You can cancel tickets from your Orders List. Click here for help using your Orders List.)
To carry on, click
Test trigger.
If the test was successful, you'll see an option to view your guest to see all of the information that Zapier pulls through. If everything looks good, click
Continue
.
Set up your Action App and Account
Next you'll need to choose the Action App. This is the app or service that you want triggered by Quicket.
Choose from a list of apps you've used previously, or search for the app using the search bar. You can choose from hundreds of apps.
Once you've selected your app, you'll need to choose an Action event. This is what will happen in the app or service when your trigger on Quicket happens. You'll then need to connect to your account on the app that you've selected so Zapier can test your action. Click Continue once you've tested that the account is connected.
Choose your Action App option details
Zapier will generate the different options that you have for the Action you've selected. In the example below, an email is being actioned.
Complete the required fields then click Test step to try out your action.
If successful, click Continue to finalise your Zap. That's it! As long your action triggered correctly in the test, you're good to go.
Related Articles
Using Webhooks
What are web hooks? Web hooks allow Quicket to send a message to another system when certain actions take place. The actions are called hooks. Quicket currently provides four hooks for your event: 1. User started a checkout 2. Check out was cancelled ...How to connect your Meta Pixel to your event page
As an event organiser, you already juggle a lot. The last thing you want is to waste time or budget on ads that don’t work. Connecting Meta Pixel (previously called Facebook Pixel) can help you track how people interact with your Quicket event page. ...How to integrate your Quicket and Paystack accounts
How does the integration work from a fees perspective? Though we always promote using the Quicket payment gateway as the first port of call, we do provide integrations for organisers who need access to their funds in order to make the event itself ...How to use GA4 and Meta Pixel to track user behaviour on your event pages
As an event organiser, you may need to understand how ticket buyers interact with your event page. Understanding their behaviour can help you get the word out about your event, measure the success of your marketing efforts, and much more. That’s ...How to set up your event and devices for Quicket POS
The Quicket POS app turns any location into a ticketing kiosk by allowing simultaneous online and onsite ticket sales. Selling tickets at your event door can be quick and easy, but proper preparation is key to a smooth event day. Before your event, ...