How to organise your event description with tabbed content
You've set up your event page but there's just too much information to fit all in one space. Organise your event description by using our Tabbed Content feature and allow guests to easily find the information they're looking for.
You'll be able to add tabbed content to your event page after you've finished the event creation form. Start by logging into your Quicket account, and go to Organiser Hub -> Manage Events then click on the name of your event. From the menu of your event dashboard, go to
Event Page
then
Tabbed content
.
From here, click on the
Add tab
button.
Once you've chosen which tab you'd like to add, click the spanner under
Actions
to add and edit the content of the tab.
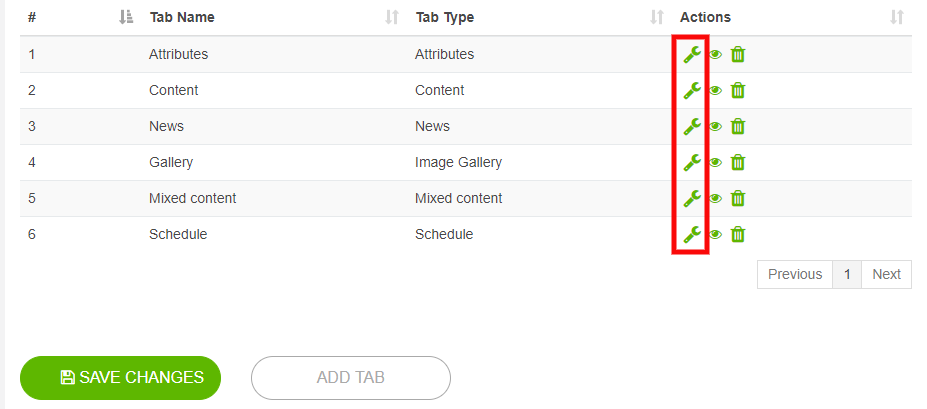
If you'd like to hide one of your tabs, click the eye icon under Actions . Your tab will still be available for you to view and edit in your dashboard, but visitors to your event page will no longer see the tab. To remove a tab completely, click the bin icon.
Types of tabbed content
We've added six types of tabbed content that you can use on your event page.
Attributes
This is a good way to break down the general information of your event. You can add as many attributes as you'd like for details such as date, venue, social media accounts that visitors can follow, etc.
Content
The content tab allows you to add a secondary tab similar to the About tab, which is the default Quicket tab. In this tab, you can add any mixed media of your choice (images, text and video).
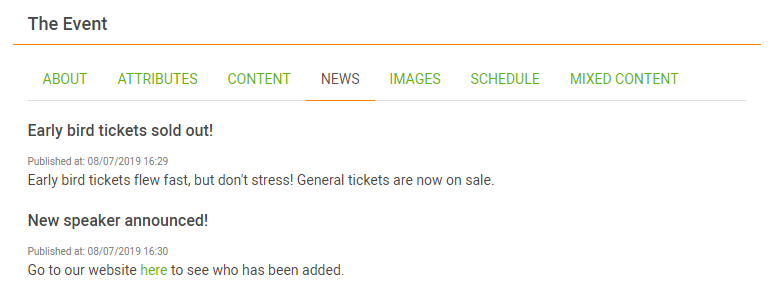
News
This allows you to publish news items with time stamps.
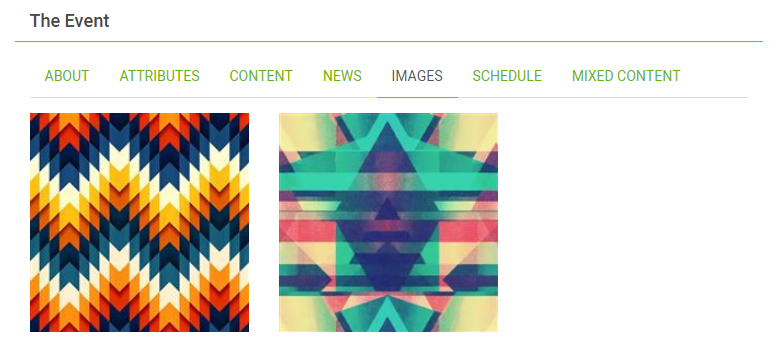
Gallery
The gallery tab allows you to upload images to a gallery. Give people a taste of what's to come by uploading colourful, fun photos of previous events or media coverage. Note that square images will work best.
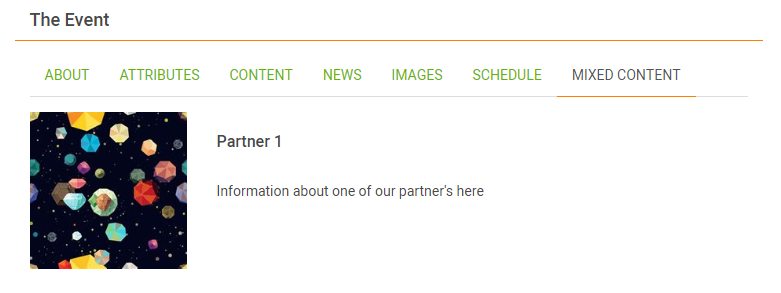
Mixed content
This tab is for listing anything with images and a write-up. We suggest using it for artist line-ups without a schedule or for listing partners, sponsors, speakers or stalls.
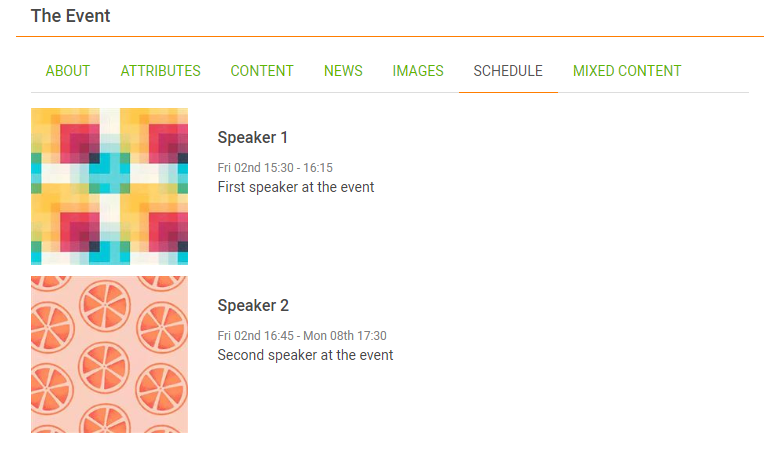
Schedule
Schedule
Schedules were introduced to allow an event with time sensitive information to keep visitors informed. This is good to use for music line-ups and conference schedules.
Once you've created all the tabs you need for your event, you can preview your masterpiece by heading to Preview on the left-side menu of your event dashboard.
Once you've created all the tabs you need for your event, you can preview your masterpiece by heading to Preview on the left-side menu of your event dashboard.
Related Articles
How to create an event
You've set up your Quicket account and are ready to open up bookings for your next event. Quicket is a self-managed platform, so you can start the event creation process at any time to get your tickets selling as soon as possible. To start, go to ...How to create a recurring event
Your event is a series scheduled over multiple times or dates. No need to set up separate event pages - you can list each segment of your event on the same event page with our Recurring Events feature. To start, go to our homepage, then click ...Get to know your event dashboard and menu
Your event dashboard is the hub from which you'll find all the elements needed to manage your event on Quicket. Spending even just a couple minutes clicking through your dashboard and getting familiar with it can unlock so much potential for ...Using Ticket Groups to categorise and organise your ticket types
Ticket groups are a way of grouping similar sets of ticket types together under a common section. The group is displayed to ticket buyers and can be collapsed or expanded to show the ticket types that belong to that group. Start by logging into your ...How to transfer attendees to a different schedule in an event series
If you have an event series, there may come a time when you need to transfer the attendees from one schedule in the series to another. No problem! Simply follow the instructions below to find out how. Get started by logging into your Quicket account, ...